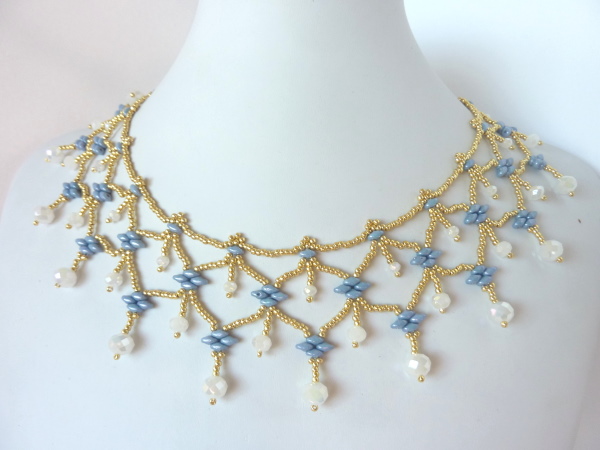
Enjoy a video tutorial for this design! These earrings coordinate with the Wing Drop Necklace from my last post. They are fairly quick and simple to make. I hope you enjoy this free beading pattern!
Materials
This pattern requires 2 rondelle crystals of each size (4x6mm and 6x8mm), superduos, 11/0 TOHO seed beads, and two 6/0 or 8/0 seed beads to connect ear hooks via jump rings at the top. You can substitute 6mm bicone crystals instead of the 4x6mm and 6x8mm rondelle crystals (shown in the black/blue pair below).
More Photos and Demo Video
Click on the photos below (or the free beading pattern) to zoom in.
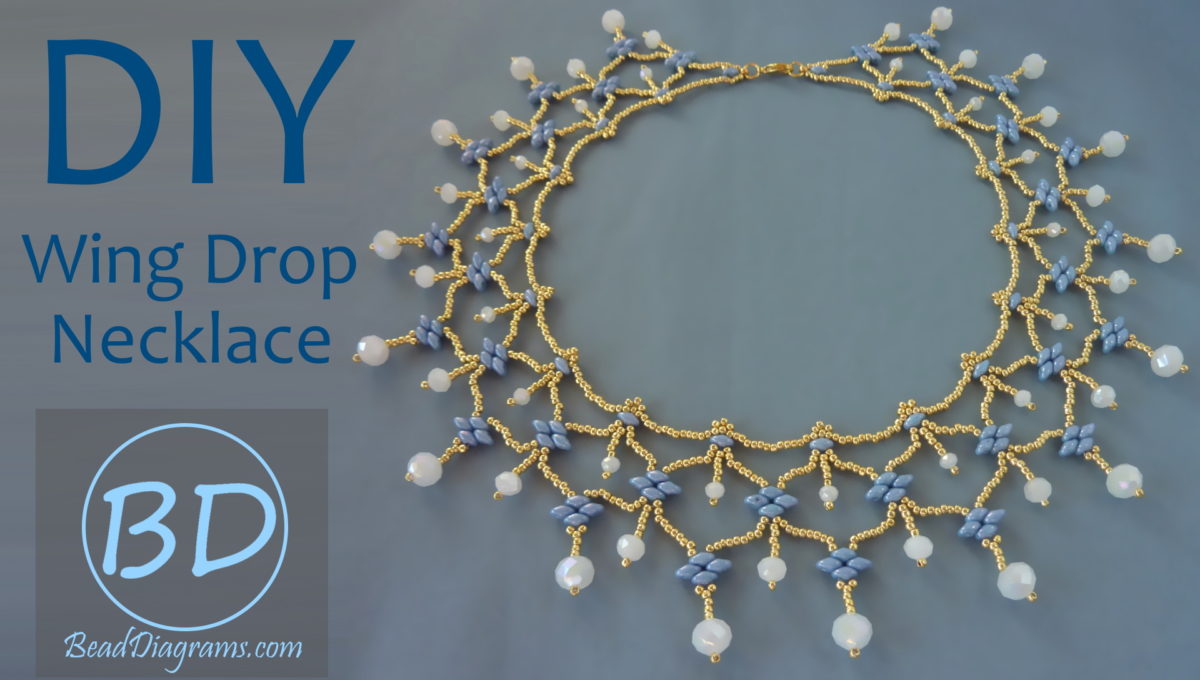
Video Tutorial
BeadDiagrams.com has introduced video tutorials! BeadDiagrams.com tutorials have an advantage over other video tutorials, offering a printable PDF to accompany each tutorial, to help and follow along with. Subscribe to my YouTube channel (https://youtube.com/c/BeadDiagramsTutorials) to be notified of new tutorials. I am not only posting tutorials for new designs, but also for previously posted designs!
Click on the image below to view the video tutorial for this design:

Download PDF of free beading pattern
If you wish to print the pattern, download it in PDF format:
If you enjoy the free designs, tutorials, and downloads provided by BeadDiagrams.com, consider donating using Paypal!