Category: Pendants (Page 3 of 6)

FREE Beading Pattern for Rondelle Cross

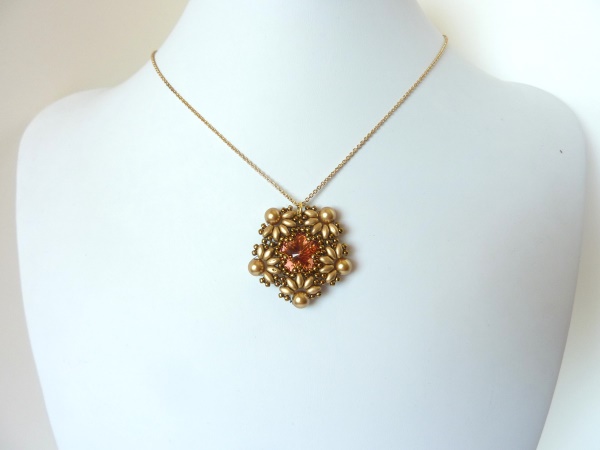
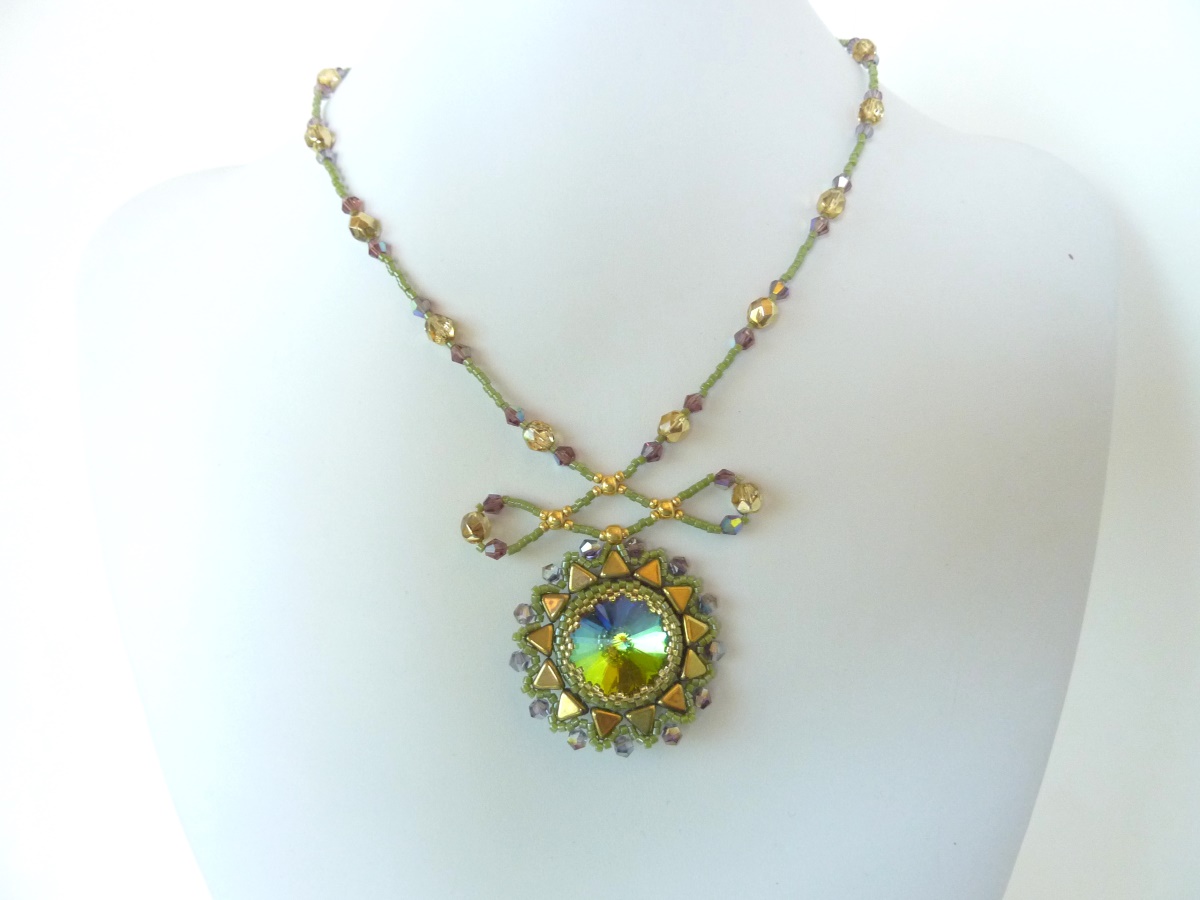
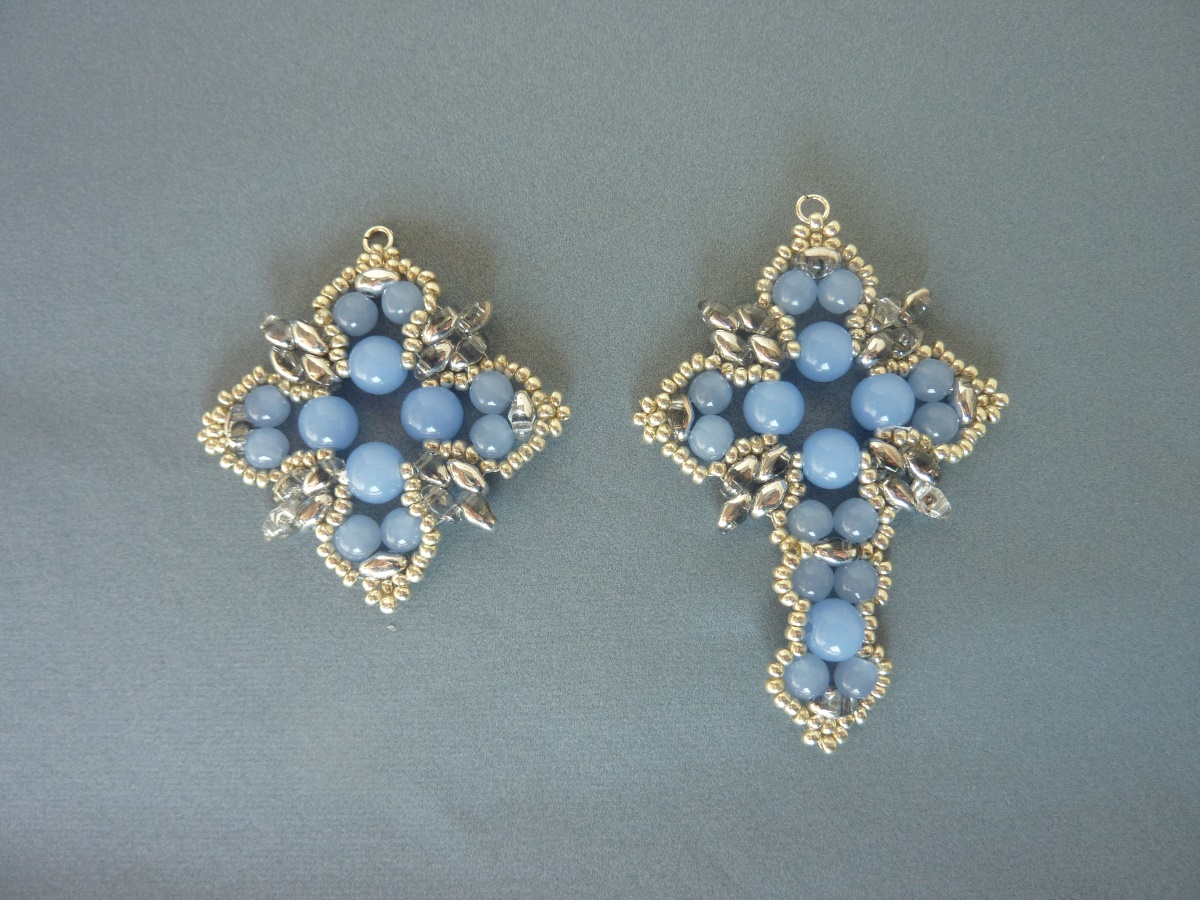
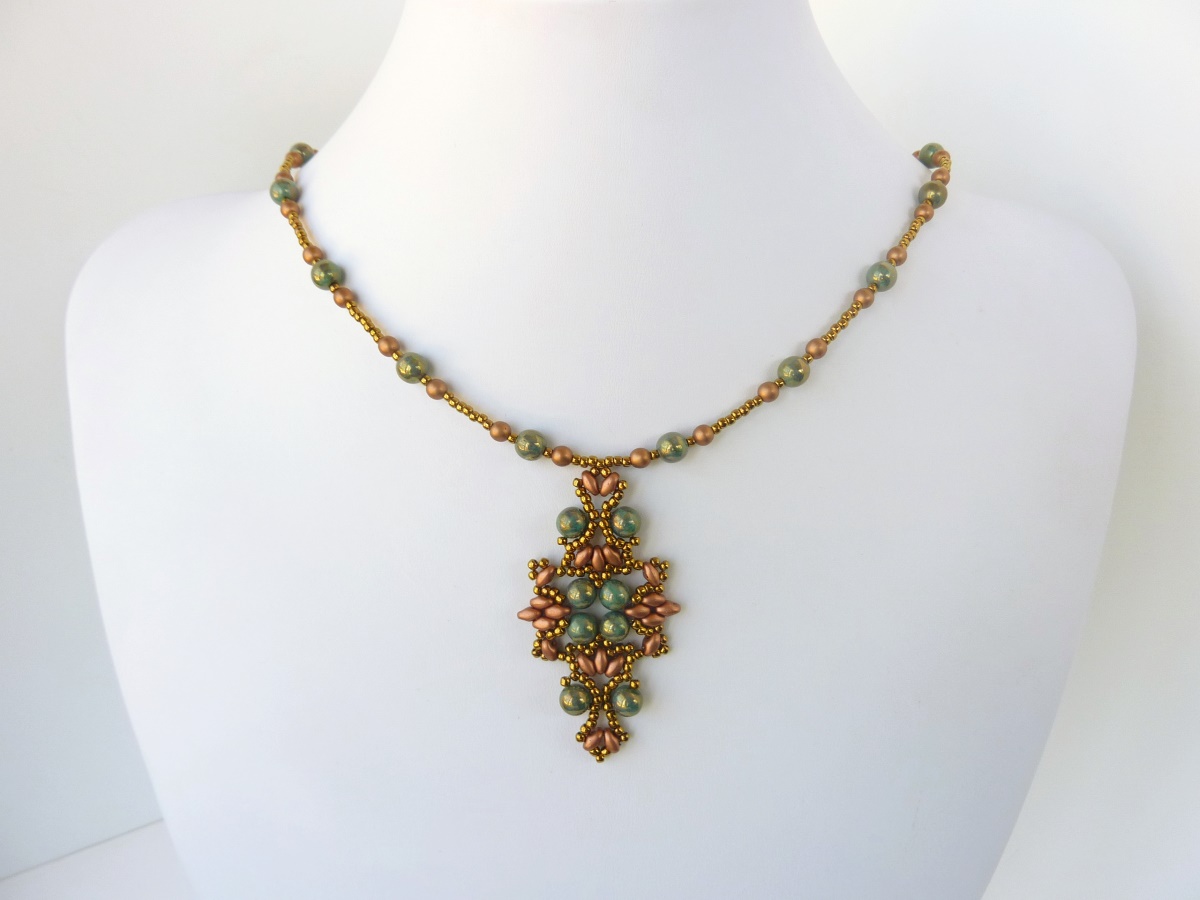
This pendant pattern requires five 6x8mm rondelle crystals, 11/0 seed beads, and a bail or jump ring. You can use either larger TOHO 11/0 seed beads (like the gold/silver pieces) or smaller Czech 11/0 seed beads (like the black hematite pieces), but there is a slight difference noted in the pattern for each (in blue text, at steps 3 and 5). I used 6 lb Fireline, which seemed to work well to sufficiently “stiffen” the piece at the last step. There is also an “Earring Variation” included in the pattern that instructs how to modify the pattern to make a smaller version of the piece using 5x6mm rondelle crystals instead (still with 11/0 seed beads). An example of the earrings is shown with the light blue piece below. I hope you enjoy this free beading pattern!

FREE beading pattern: Rondelle Cross Pendant

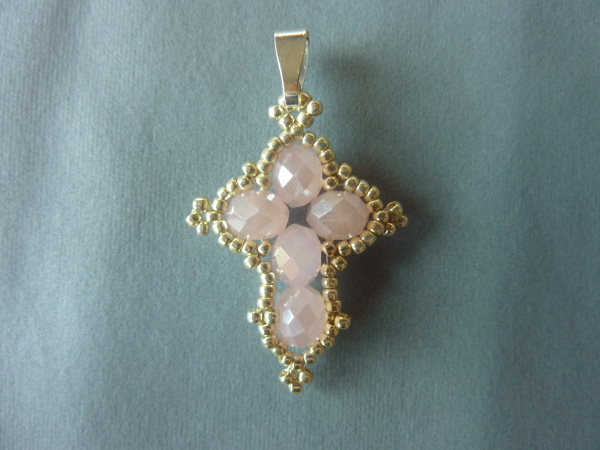
For all pieces, I used faceted rondelle crystals from Michael’s. For the gold and silver pieces, I used Galvanized Permafinish TOHO 11/0 seed beads (aluminum and starlight) from Firemountain Gems. I like using these because they don’t tarnish over time. (A sample of the earring variation is shown in the light blue and silver piece below). For the black pieces, I used smaller Czech 11/0 seed beads.

Click on the photos below (or the free beading pattern) to zoom in.

If you wish to print the pattern, download it in PDF format:


If you enjoy the free designs, tutorials, and downloads provided by BeadDiagrams.com, consider donating using Paypal!

FREE beading pattern for Pentagon Rivoli Pendant

This is a lovely pendant design, which features a crystal rivoli inside a 5-pointed floral frame.  The pattern requires a 14mm crystal rivoli, 6mm pearls or bicone crystals, Superduo beads, 11/0 seed beads, and jewelry glue for the last step.  I experimented with larger (TOHO) and smaller (Czech) 11/0 seed beads, and both seemed to work equally well.  I included a step at the end to glue the the rivoli back to its beaded cage in the back, because I found that with some of the pieces I made, the rivoli could pop out if you twisted the component hard enough. I used E6000 clear glue for that step (same as pictured in the Materials photo in my DIY Sweater Clip post).  I was able to string the pendant on a chain by inserting a jump ring through the middle of one of the sides of the finished piece.   I hope you enjoy this free beading pattern!

FREE beading pattern: Pentagon Rivoli Pendant

FREE beading pattern: Pentagon Rivoli Pendant

Click on the photos below (or the free beading pattern) to zoom in.

If you wish to print the pattern, download it in PDF format:


If you enjoy the free designs and downloads provided by BeadDiagrams.com, consider donating! (Just click the “Donate” button on the right sidebar to donate using PayPal).

FREE beading pattern for Sunburst Rivoli Pendant

This is my first experiment with 2-hole triangle beads, as well as my first design using a large (20mm) rivoli.  This pattern only works with 11/0 Miyuki seed beads, and also requires 15/0 seed beads and 4mm crystals.  I strung the pendant on 0.015in beading wire, making two loops  through 6/0 seed beads to create a “bow” shape above the pendant.  To match the strung part of the necklace with the pendant, I used 6mm crystals the same color as the 2-hole triangle beads.  (Although the diagram only includes steps for making the pendant, you can examine the photos to determine stringing pattern for the rest of the necklace).  The pendant can also be hung on a cord, chain, or ribbon instead, if desired.  I hope you enjoy this free beading pattern!

FREE beading pattern: Sunburst Rivoli Pendant

FREE beading pattern: Sunburst Rivoli Pendant

Click on the photos below (or the free beading pattern) to zoom in.

If you wish to print the pattern, download it in PDF format:


If you enjoy the free designs and downloads provided by BeadDiagrams.com, consider donating! (Just click the “Donate” button on the right sidebar to donate using PayPal).

FREE beading pattern for Tudor Cross Pendant

FREE beading pattern: Tudor Cross Pendant

I really love how this pendant turned out!  It comes in two flavors: Diamond-shaped and Cross-shaped.  When experimenting with different color combinations, I found that a higher-contrast seed bead color accentuated the outline of the cross-shape better.   I hope you enjoy this free beading pattern!

Materials

Both Diamond-shaped and Cross-shaped versions of this pendant require Superduos, 4mm and 6mm round beads or pearls, and 11/0 seed beads. Between the smaller Czech 11/0 seed beads and larger TOHO 11/0 seed beads, I found the smaller Czech ones worked slightly better.  However, larger TOHO beads still worked in this pattern (see the dark copper/olive and bronze/red examples below). Those examples with TOHO seed bead were made with natural stone 4mm/6mm round beads, which tend to be on the larger side of 4mm/6mm.

More Photos and Demo Video


Click on the photos below (or the free beading pattern) to zoom in. 

Video Tutorial

BeadDiagrams.com has introduced video tutorials! BeadDiagrams.com tutorials have an advantage over other video tutorials, offering a printable PDF to accompany each tutorial, to help and follow along with. Subscribe to my YouTube channel (https://youtube.com/c/BeadDiagramsTutorials) to be notified of new tutorials. I am not only posting tutorials for new designs, but also for previously posted designs!

Click on the image below to view the video tutorial for this design:

Video tutorial: Tudor Cross Pendant

Download PDF

If you wish to print the pattern, download it in PDF format:


If you enjoy the free designs, tutorials, and downloads provided by BeadDiagrams.com, consider donating using Paypal!

FREE beading pattern for Lotus Lace Pendant

I was so happy with how the center component looked in my Lotus Lace Bracelet design from my last post, I decided to make it into a pendant. The pendant can be connected via jump ring to a chain or ribbon (as shown in my Diamond Rivoli post), or strung on a beaded wire finished with crimp beads and clasps as shown below.  (The pattern used for the beaded wire portion of the necklace can be found in my previous Rivoli Pendant post).  As another alternative, I created an extended version of the Lotus Lace Bracelet pattern to form a necklace to attach the pendant to (shown in the gold and copper piece below).  The left and right strands of the necklace were made by doing steps [1 – 22], [10 – 12], [2 – 22], [10 – 12], and [2 – 22] of the Lotus Lace Bracelet pattern, creating three main segments in each strand.  As with the earrings and the bracelet, this pendant pattern works equally well with either smaller Czech 11/0 seed beads, or with larger TOHO 11/0 seed beads, and can work with either Superduo or twin beads (although Superduos work a little better I think).

FREE beading pattern: Lotus Lace Pendant

FREE beading pattern: Lotus Lace Pendant

Here is a list of materials used in the various color combinations I experimented with:

11/0 seed beads Superduos or twins 6mm round beads
TOHO Bronze Bronze Copper Superduos Turquoise Green Bronze Picasso Finish Druk Beads
Czech gold Apollo Gold Superduos Czech druks, opaque satin copper
Czech silver White Luster twins green adventurine (natural stone)
TOHO nickel Silver Superduos Light violet Pearls
TOHO Bronze Transparent Amethyst Luster Superduos Transparent Amethyst Luster Druks

 
Click on the photos below (or the free beading pattern) to zoom in.

If you wish to print the pattern, download it in PDF format:


If you enjoy the free designs and downloads provided by BeadDiagrams.com, consider donating! (Just click the “Donate” button on the right sidebar to donate using PayPal).

Zoom/Print Instructions:

Note:If you are viewing this post from an e-mail, open the post in a browser first (i.e. click on the post title) to follow these steps.

Click on the photos above (or the free beading pattern) to zoom in.  If you wish to print the pattern, follow these steps:

  1. Click on the beading pattern thumbnail to zoom in.
  2. Click on the icon that looks like a square with an arrow to open the image in its original size.
  3. Print that image from your browser (or save the image and print it from another program).

Note: In Internet Explorer, you can use “Print Preview” to adjust orientation and scale to fit on a single page (landscape orientation, with whatever % scale allows it to fill one full page).  In Safari, orientation and scale can be adjusted on Print dialog via “Show Details” (landscape orientation, with whatever % scale allows it to fill one full page). 

« Older posts Newer posts »

© 2024 BeadDiagrams.com

Theme by Anders NorenUp ↑

Ads Blocker Image Powered by Code Help Pro

Ads Blocker Detected!!!

We have detected that you are using extensions to block ads. Please support us by disabling these ads blocker.

Powered By
100% Free SEO Tools - Tool Kits PRO