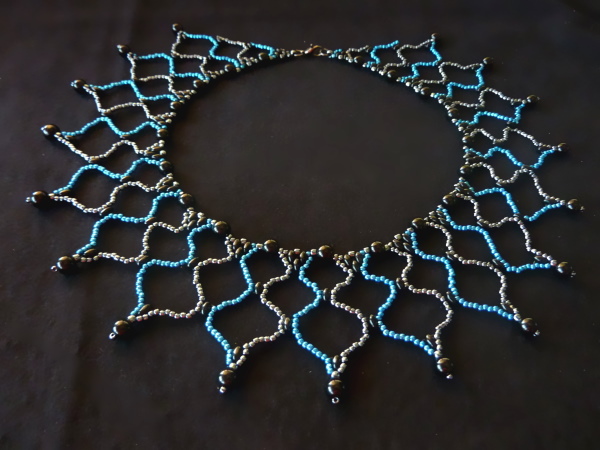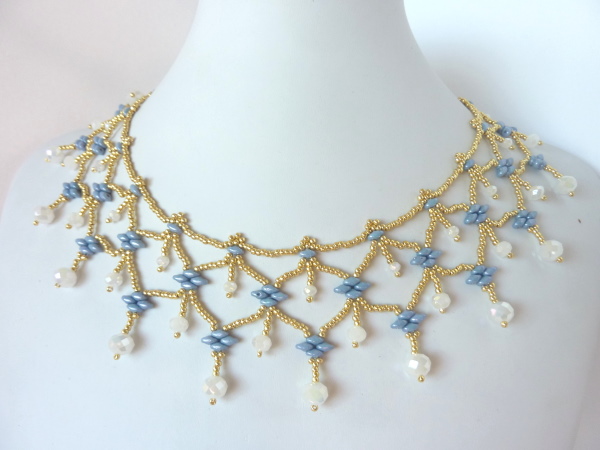
Enjoy a free video tutorial to accompany the PDF diagram download for this design! This is a dazzling necklace with bling, but still dainty and delicate. It is fairly quick and easy to make, and very fun to try with different color combinations. On the blue, white, and silver piece shown below, I added an extra back drop off the clasp just to add another variation idea (though instructions for that are not included in the video tutorial or PDF). I hope you enjoy this free beading pattern!
Materials
For this necklace you will need twelve 6mm bicone crystals, twenty-six 4mm pearls or round beads, 11/0 TOHO seed beads, two lengths of chain (7 or 8 inches), four jump rings, and a clasp. (If you want to add a back drop like the blue/white/silver piece shown below, you will need a bit more chain, a few more crystals/pearls, and some wire to put the crystals/pearls on and bend end-loops to connect to the chain).
More Photos and Demo Video
Click on the photos below (or the free beading pattern) to zoom in.
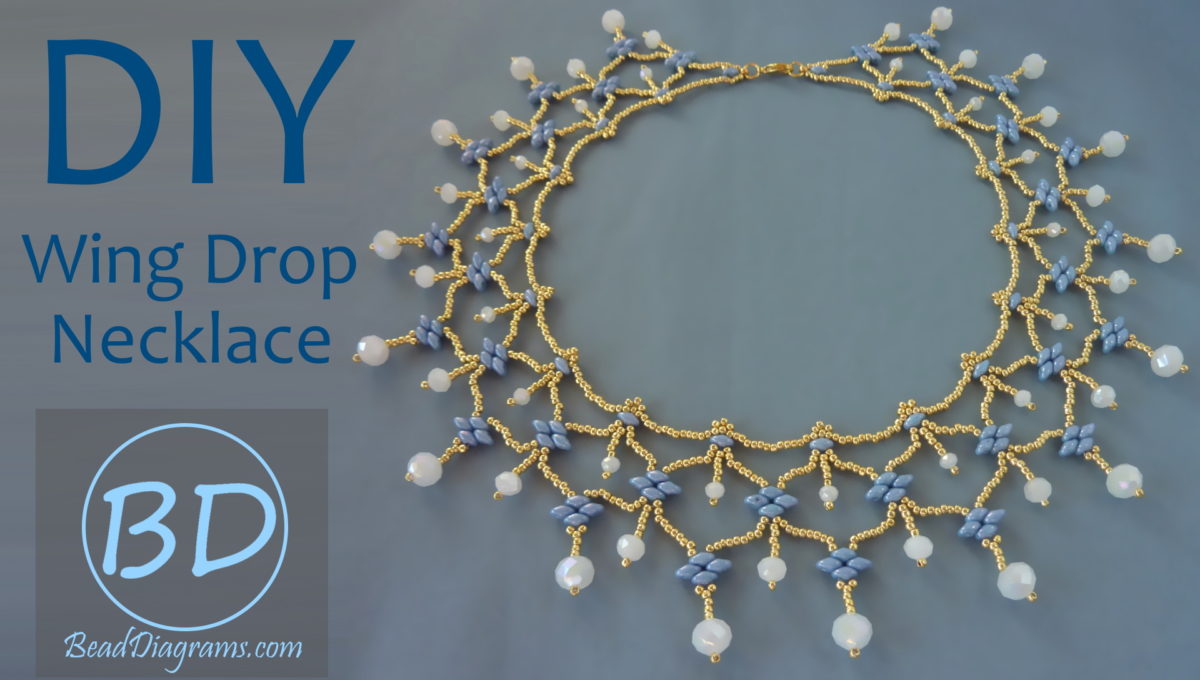
Video Tutorial
BeadDiagrams.com has introduced video tutorials! BeadDiagrams.com tutorials have an advantage over other video tutorials, offering a printable PDF to accompany each tutorial, to help and follow along with. Subscribe to my YouTube channel (https://youtube.com/c/BeadDiagramsTutorials) to be notified of new tutorials. I am not only posting tutorials for new designs, but also for previously posted designs!
Click on the image below to view the video tutorial for this design:

Download PDF
If you wish to print the pattern, download it in PDF format:
If you enjoy the free designs, tutorials, and downloads provided by BeadDiagrams.com, consider donating using Paypal!