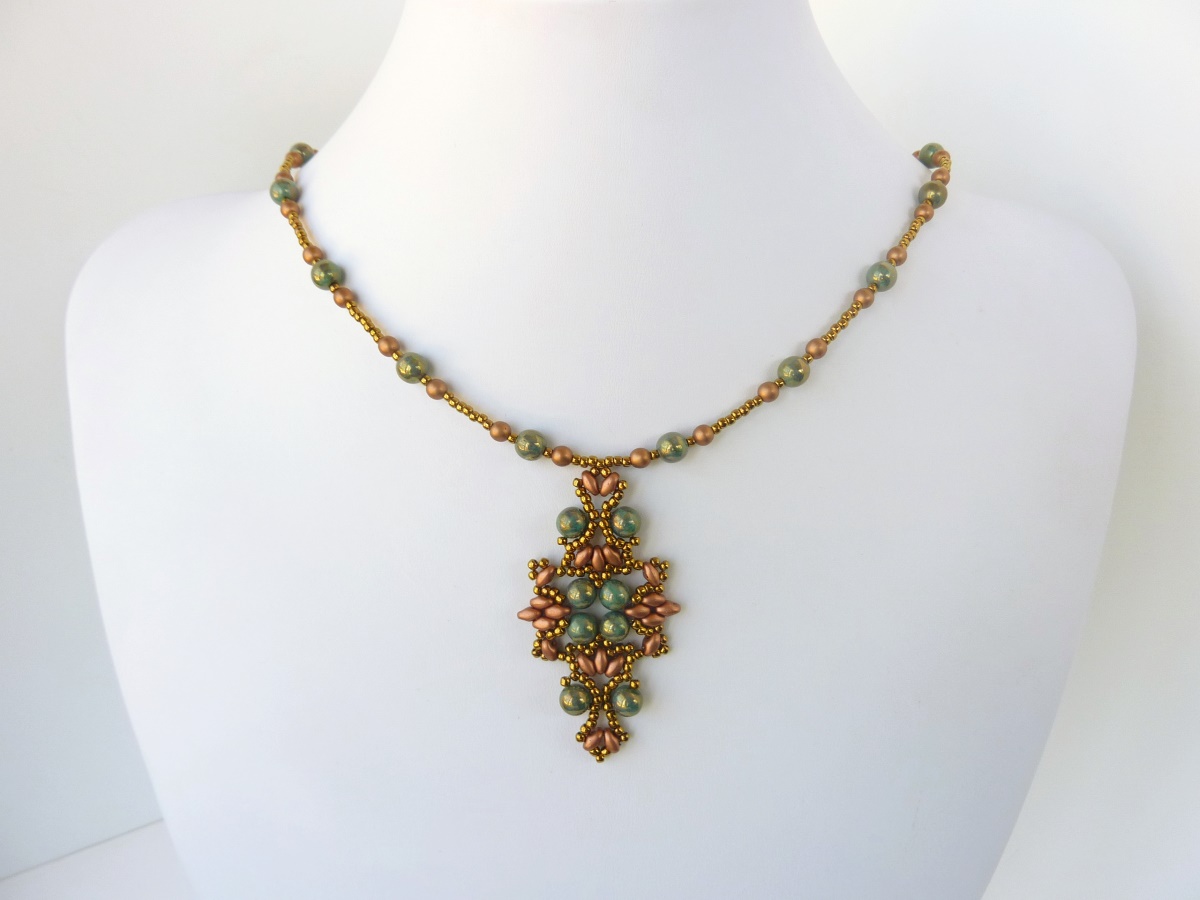
I was so happy with how the center component looked in my Lotus Lace Bracelet design from my last post, I decided to make it into a pendant. The pendant can be connected via jump ring to a chain or ribbon (as shown in my Diamond Rivoli post), or strung on a beaded wire finished with crimp beads and clasps as shown below. (The pattern used for the beaded wire portion of the necklace can be found in my previous Rivoli Pendant post). As another alternative, I created an extended version of the Lotus Lace Bracelet pattern to form a necklace to attach the pendant to (shown in the gold and copper piece below). The left and right strands of the necklace were made by doing steps [1 – 22], [10 – 12], [2 – 22], [10 – 12], and [2 – 22] of the Lotus Lace Bracelet pattern, creating three main segments in each strand. As with the earrings and the bracelet, this pendant pattern works equally well with either smaller Czech 11/0 seed beads, or with larger TOHO 11/0 seed beads, and can work with either Superduo or twin beads (although Superduos work a little better I think).

FREE beading pattern: Lotus Lace Pendant
Here is a list of materials used in the various color combinations I experimented with:
| 11/0 seed beads | Superduos or twins | 6mm round beads |
| TOHO Bronze | Bronze Copper Superduos | Turquoise Green Bronze Picasso Finish Druk Beads |
| Czech gold | Apollo Gold Superduos | Czech druks, opaque satin copper |
| Czech silver | White Luster twins | green adventurine (natural stone) |
| TOHO nickel | Silver Superduos | Light violet Pearls |
| TOHO Bronze | Transparent Amethyst Luster Superduos | Transparent Amethyst Luster Druks |
Click on the photos below (or the free beading pattern) to zoom in.
If you wish to print the pattern, download it in PDF format:
If you enjoy the free designs and downloads provided by BeadDiagrams.com, consider donating! (Just click the “Donate” button on the right sidebar to donate using PayPal).
Zoom/Print Instructions:
Note:If you are viewing this post from an e-mail, open the post in a browser first (i.e. click on the post title) to follow these steps.
Click on the photos above (or the free beading pattern) to zoom in. If you wish to print the pattern, follow these steps:
- Click on the beading pattern thumbnail to zoom in.
- Click on the icon that looks like a square with an arrow to open the image in its original size.
- Print that image from your browser (or save the image and print it from another program).
Note: In Internet Explorer, you can use “Print Preview” to adjust orientation and scale to fit on a single page (landscape orientation, with whatever % scale allows it to fill one full page). In Safari, orientation and scale can be adjusted on Print dialog via “Show Details” (landscape orientation, with whatever % scale allows it to fill one full page).


